Seven Tips for Making a Seating Chart
By Rebecca Padgett
The idea of a seating chart brings back memories of grade school, but while assigned seating isn’t required at your next big event, it does make things easier and more organized.
Assigned seats help servers coordinate food service and locate anyone with specific food-related needs and dietary restrictions.
Seating charts also ensure that tables are well structured so guests aren’t crowding too many into one table — or leaving you with empty tables that you paid for.
Seating charts can also help the couple locate guests in order to visit with them.
The idea of arranging a group of people can seem daunting, but ultimately it can make you, your planner and your guests happier at the wedding.
Fortunately, there are some tried and true tips for seating-chart planning that we’ve collected to share.
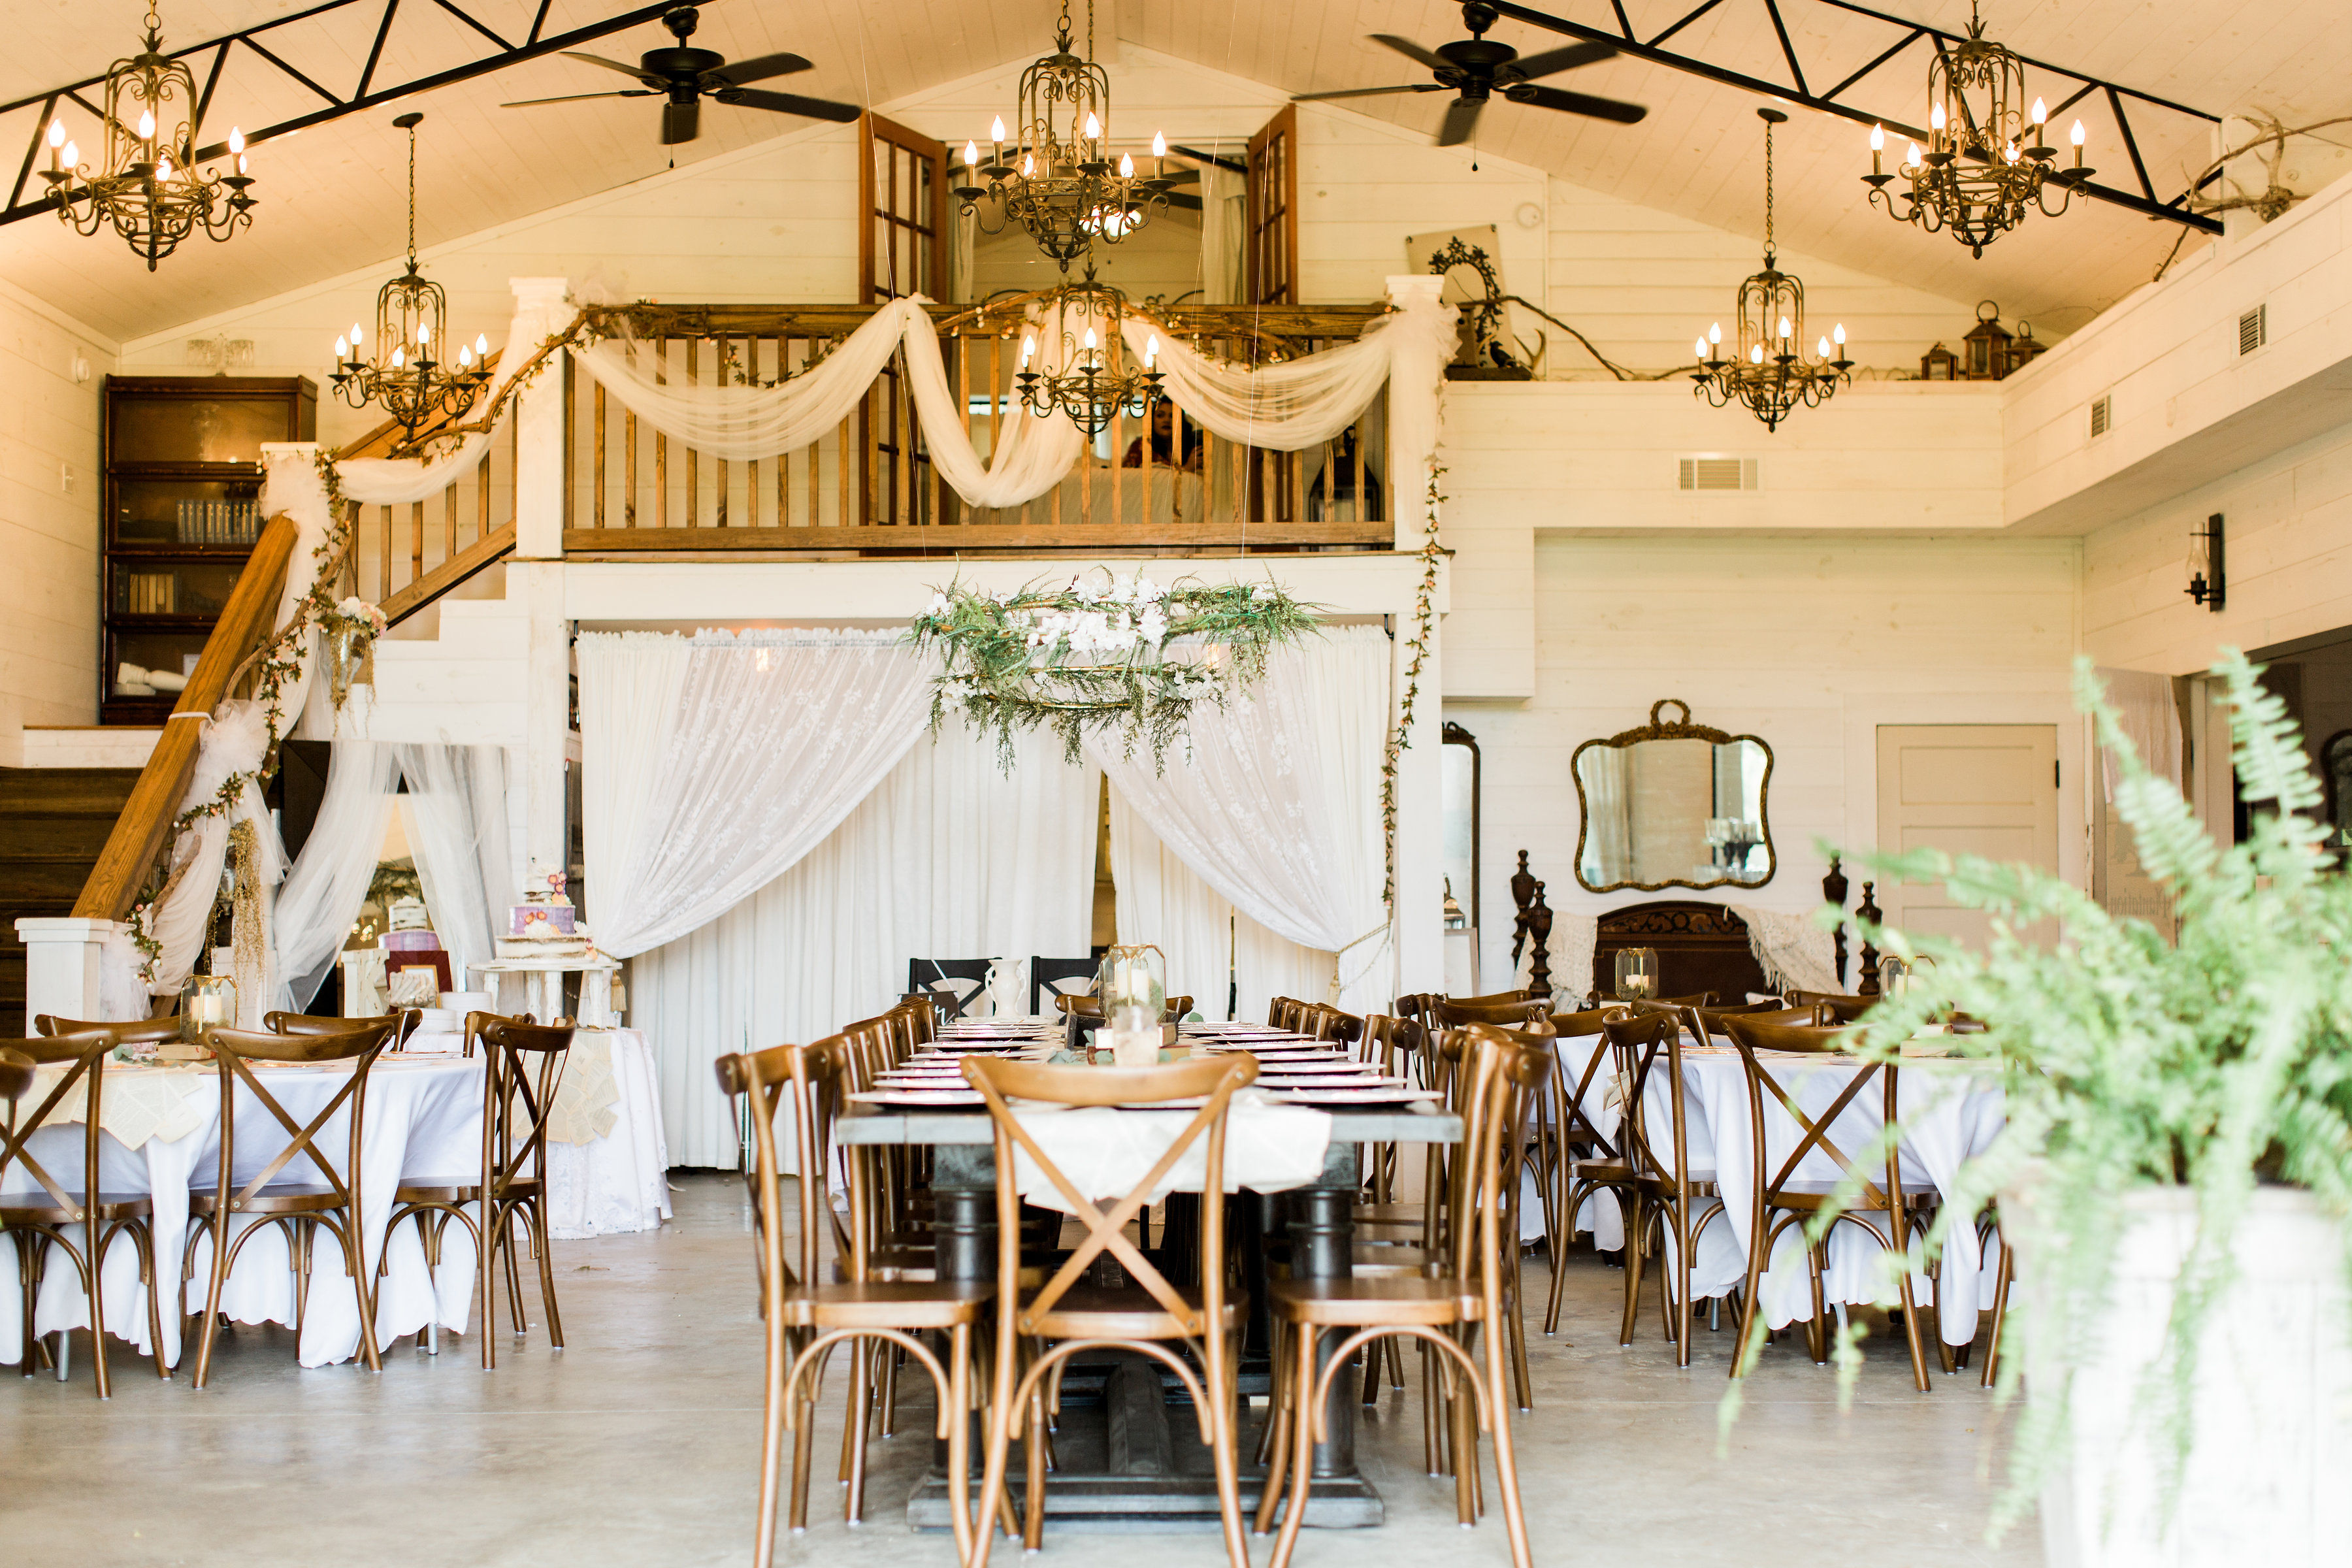
1. Keep In Mind the Venue
If you live close to your venue, you can visit and put together the seating chart there. If not, take or request photos of the space.
You can also request the dimensions of the building or the floor plan. With a visual on hand, you can be aware of the space you are working with, including how much room you actually have and notable features within the space.
The average space between tables is 60 inches, which is something you can keep in mind when selecting and spacing tables.
Make sure there are clear paths to the food, the bars and the bathrooms. It would be wise to consider placing elderly or disabled guests near exits.
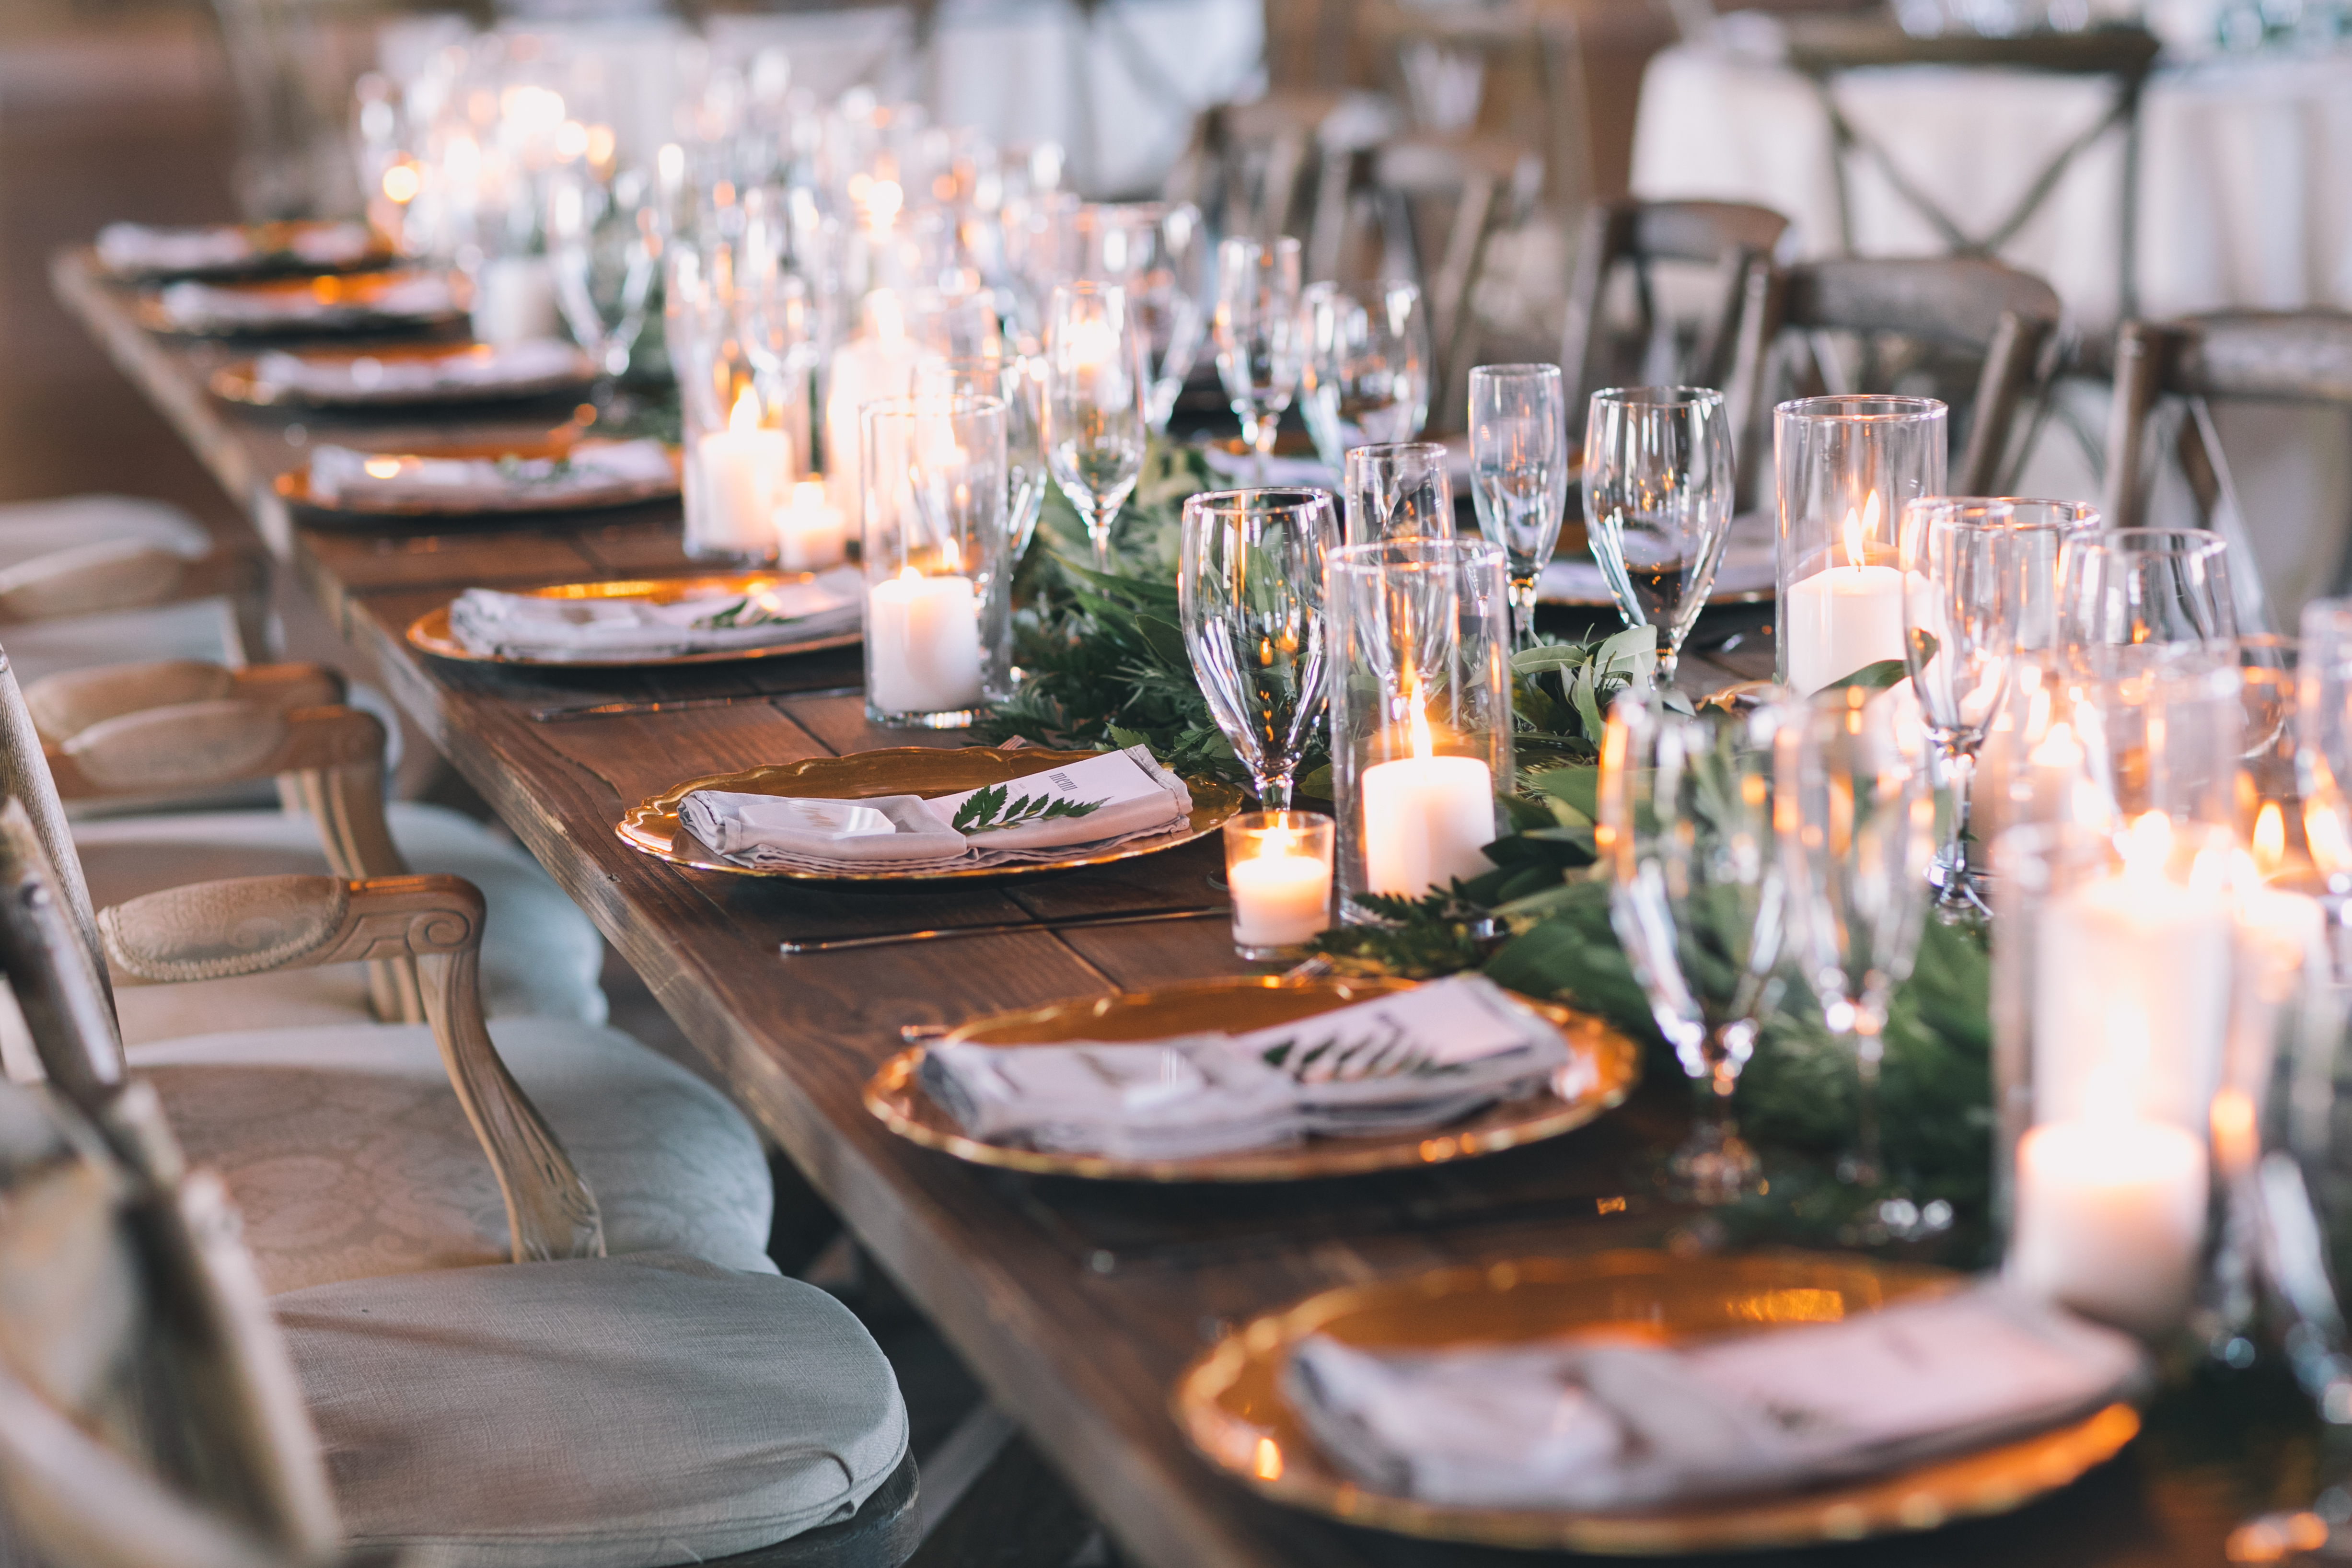
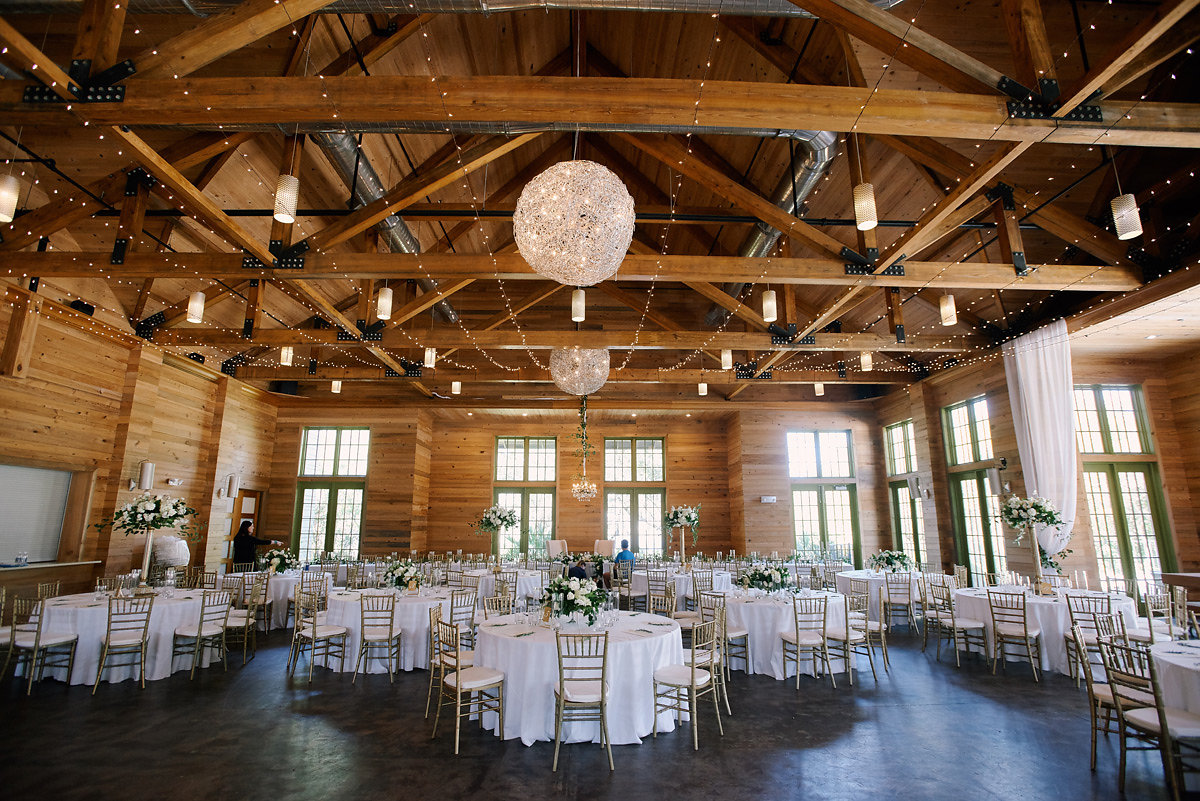
2. Table Shapes
Start by considering two things: what will fit best in your space and what is the style you’re hoping for? The most common table shapes are round, rectangle, oval and square.
Of these, the most popular is circular followed by rectangle.
Circular tables allow guests to have more legroom. Circles also allow for a more inclusive guest experience. They do take up the most amount of space though.
Rectangular tables fit better within most venue spaces. With the rise in farm tables, these have become a popular choice.
They can become too long though and feel isolating to guests who may not know others. Below is a size chart to determine about how many guests you can fit at circular and rectangular tables:
60-inch round — 8 guests
72-inch round — 10 guests
6-foot rectangle — 6 guests; 8 guests with end caps
8-foot rectangle — 8 guests; 10 guests with end caps
3. Family Table
Depending on your venue and tables chosen, parents can sit at the head table with the couple or at the family table.
The family table or tables should consist of parents, grandparents and siblings that may not be in the bridal party. It’s up to you if you add in extended family.
If there are any family anxieties or awkwardness, rectangular tables may be your best friend as parties can be sat at opposite ends.
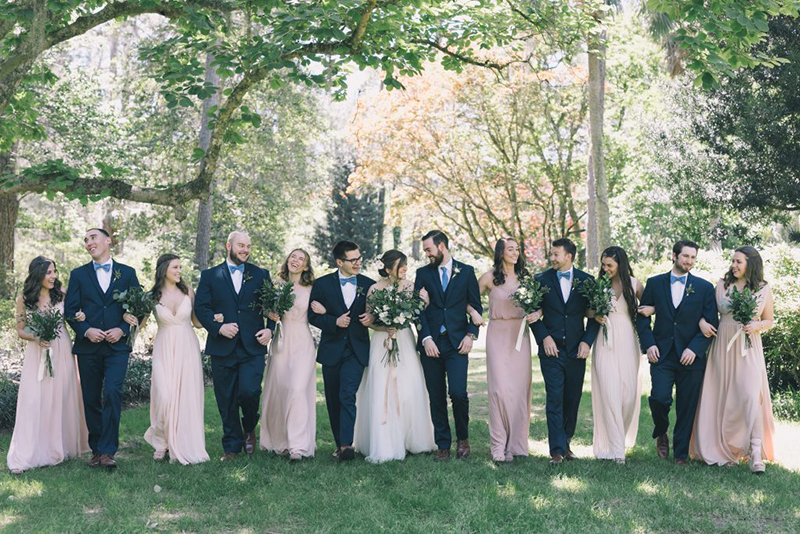
4. Bridal party
Next in line after parents is the bridal party. They can be sat at the head table or tables designated solely to the bridal party.
It’s wise to place your bridal party near the dance floor and the bars because this encourages other guests to participate.
These are also the people you call on to get the party started or be attentive to announcements. They should be easily accessible and seen.
5. Organize by Groups
With the parents and bridal party assigned, from here, you should section guests into groups. These groups can be family, family friends, high school friends, college friends, co-workers, etc.
It is best when these groups that have common interests, but feel free to intersperse those who are outliers. You should be considerate of guests who might have an uncomfortable history. It is suggested that there be no singles table.
A singles table only makes things awkward and uncomfortable. At the same time, don’t sit a single person at a table of solely couples.
If there are a lot of children, it might be best to have a kids table. You can give them activities to do during the reception, such as coloring pages or mini puzzles.
6. Tables or Seats
If you don’t like the idea of assigning seats, you can instead opt for assigning tables and allowing guests to select their seats at those tables.
7. Make It Clear
Once your seats or tables are assigned, then comes the fun part, deciding how you will inform guests of their seats.
Where we are all about creativity, it should also be legible and understandable. Most opt for tented cards or place cards.
An assignment chart or sign is also a popular option. For this method, try alphabetical order instead of by table so that names can be found faster. A legible font and organized system is also key.
Related Posts

What to Know When Hiring a Caterer